
Language


More Language
One-stop comprehensive solution provider
If you have the drawings and materials ready, installing a W Beam Guardrail is not complicated. The key is to take the layout seriously, keep the posts straight, and tighten every connection the right way. A guardrail only works well when the small details are handled on site.
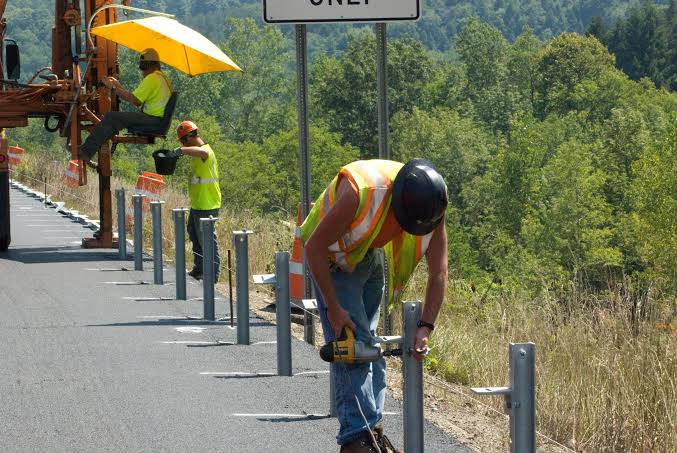
Do not guess the height, post spacing, end terminal position, or curve layout. Check the project drawings first. Different roads, shoulders, bridges, slopes, and local standards may ask for different details. If the design says a special transition, terminal, or bridge guardrail connection is needed, deal with that before installation starts.
Mark the line with stakes, paint, or string. This step looks simple, but it saves a lot of trouble later. Keep the line smooth, especially on curves. If the line is wavy, the finished galvanized W beam guardrail will also look wavy, and it may not perform as expected in a crash.
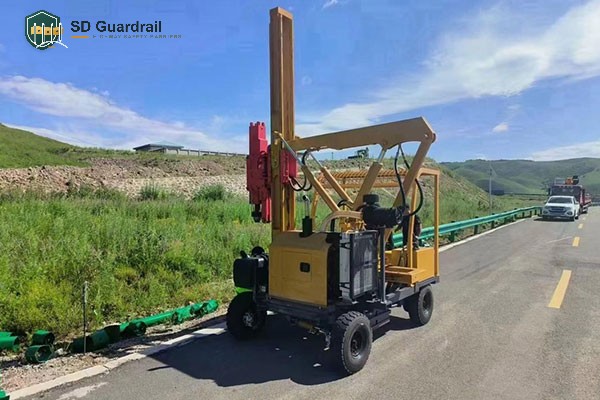
Most highway guardrail projects use driven steel posts. On some sites, posts may be installed in drilled holes or fixed to concrete. Either way, keep the posts vertical and at the depth required by the drawing. For soft ground, rocky ground, or bridge approaches, ask the engineer before changing the method.
If you are still choosing materials, check the matching guardrail post type early. C post, U post, round post, and H post are not always interchangeable.
Install the spacer blocks or brackets before hanging the rail. These parts keep the W beam away from the post and help the system absorb impact. Use the correct guardrail accessories, including bolts, nuts, washers, blocks, terminals, and reflectors. Cheap or mismatched hardware can make a good rail system weak.
Lift the W beam panels into place and connect them section by section. Overlap the panels in the traffic direction required by the project specification. Keep the rail height even, line up the bolt holes, and avoid forcing badly aligned panels with bolts. If the panel fights you, the post line usually needs checking.
End terminals, crash cushions, and transition beams are not decoration. They are part of the safety system. Make sure the terminal end, anchor section, and any W-beam to thrie-beam transition are installed exactly as specified. For more heavy-duty roadside sections, you may also compare standard W beam with Thrie Beam Guardrail.
Before the crew packs up, walk the full length. Look for loose bolts, missing washers, twisted posts, sharp edges, uneven rail height, damaged galvanizing, and open ends. Also check drainage and shoulder backfill around the posts. A neat finish is good, but a safe finish is the real goal.
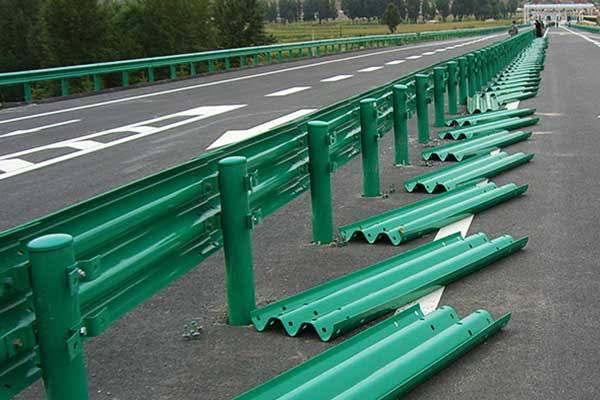
Drawings and local standard checked.
Post line marked clearly.
Posts installed straight and to the required depth.
Blocks, brackets, bolts, and washers matched correctly.
W beam panels overlapped and tightened properly.
Terminals and transitions installed as specified.
Final inspection completed before opening the road.
Need help choosing the right system? SD Guardrail can supply highway guardrail, posts, terminals, spacer blocks, bolts, and project drawings support for W Beam Guardrail installation. Send us your road section, quantity, standard, and destination port, and we will help you match the right materials.
A short, practical guide on how to install W Beam Guardrail, from site setting-out and post driving to rail alignment, bolts, terminals, and final inspection.
Malaysia's highway infrastructure is undergoing a significant transformation. With road safety becoming an increasingly urgent priority across the nation, t···
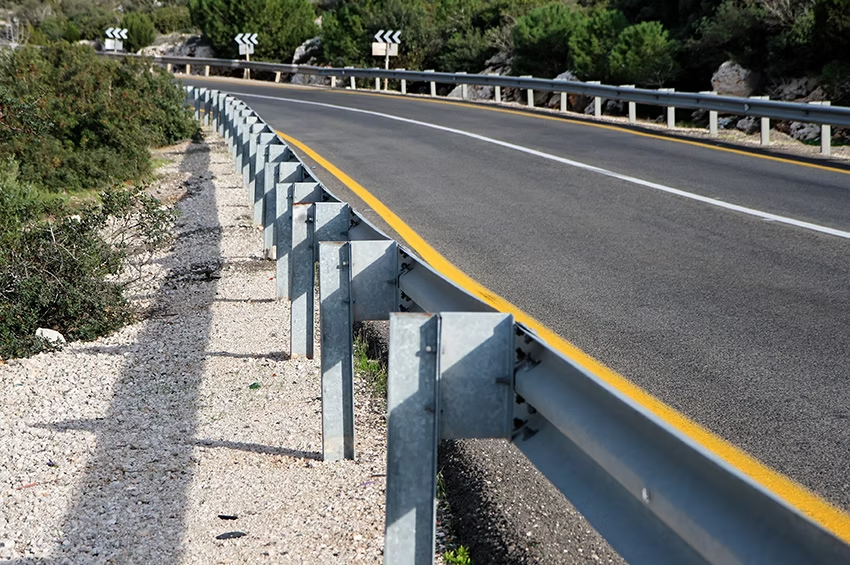
In highway safety infrastructure, the transition from standard W-beam guardrail to thrie-beam guardrail represents a critical connection point that ensures cont···